There’s a reason babies tend to sleep better when they are swaddled – it has a calming effect and helps protect against their natural startle reflex. While the idea of swaddling yourself or your older child may not be appealing, there’s another solution that can deliver the same degree of comfort and relaxation.
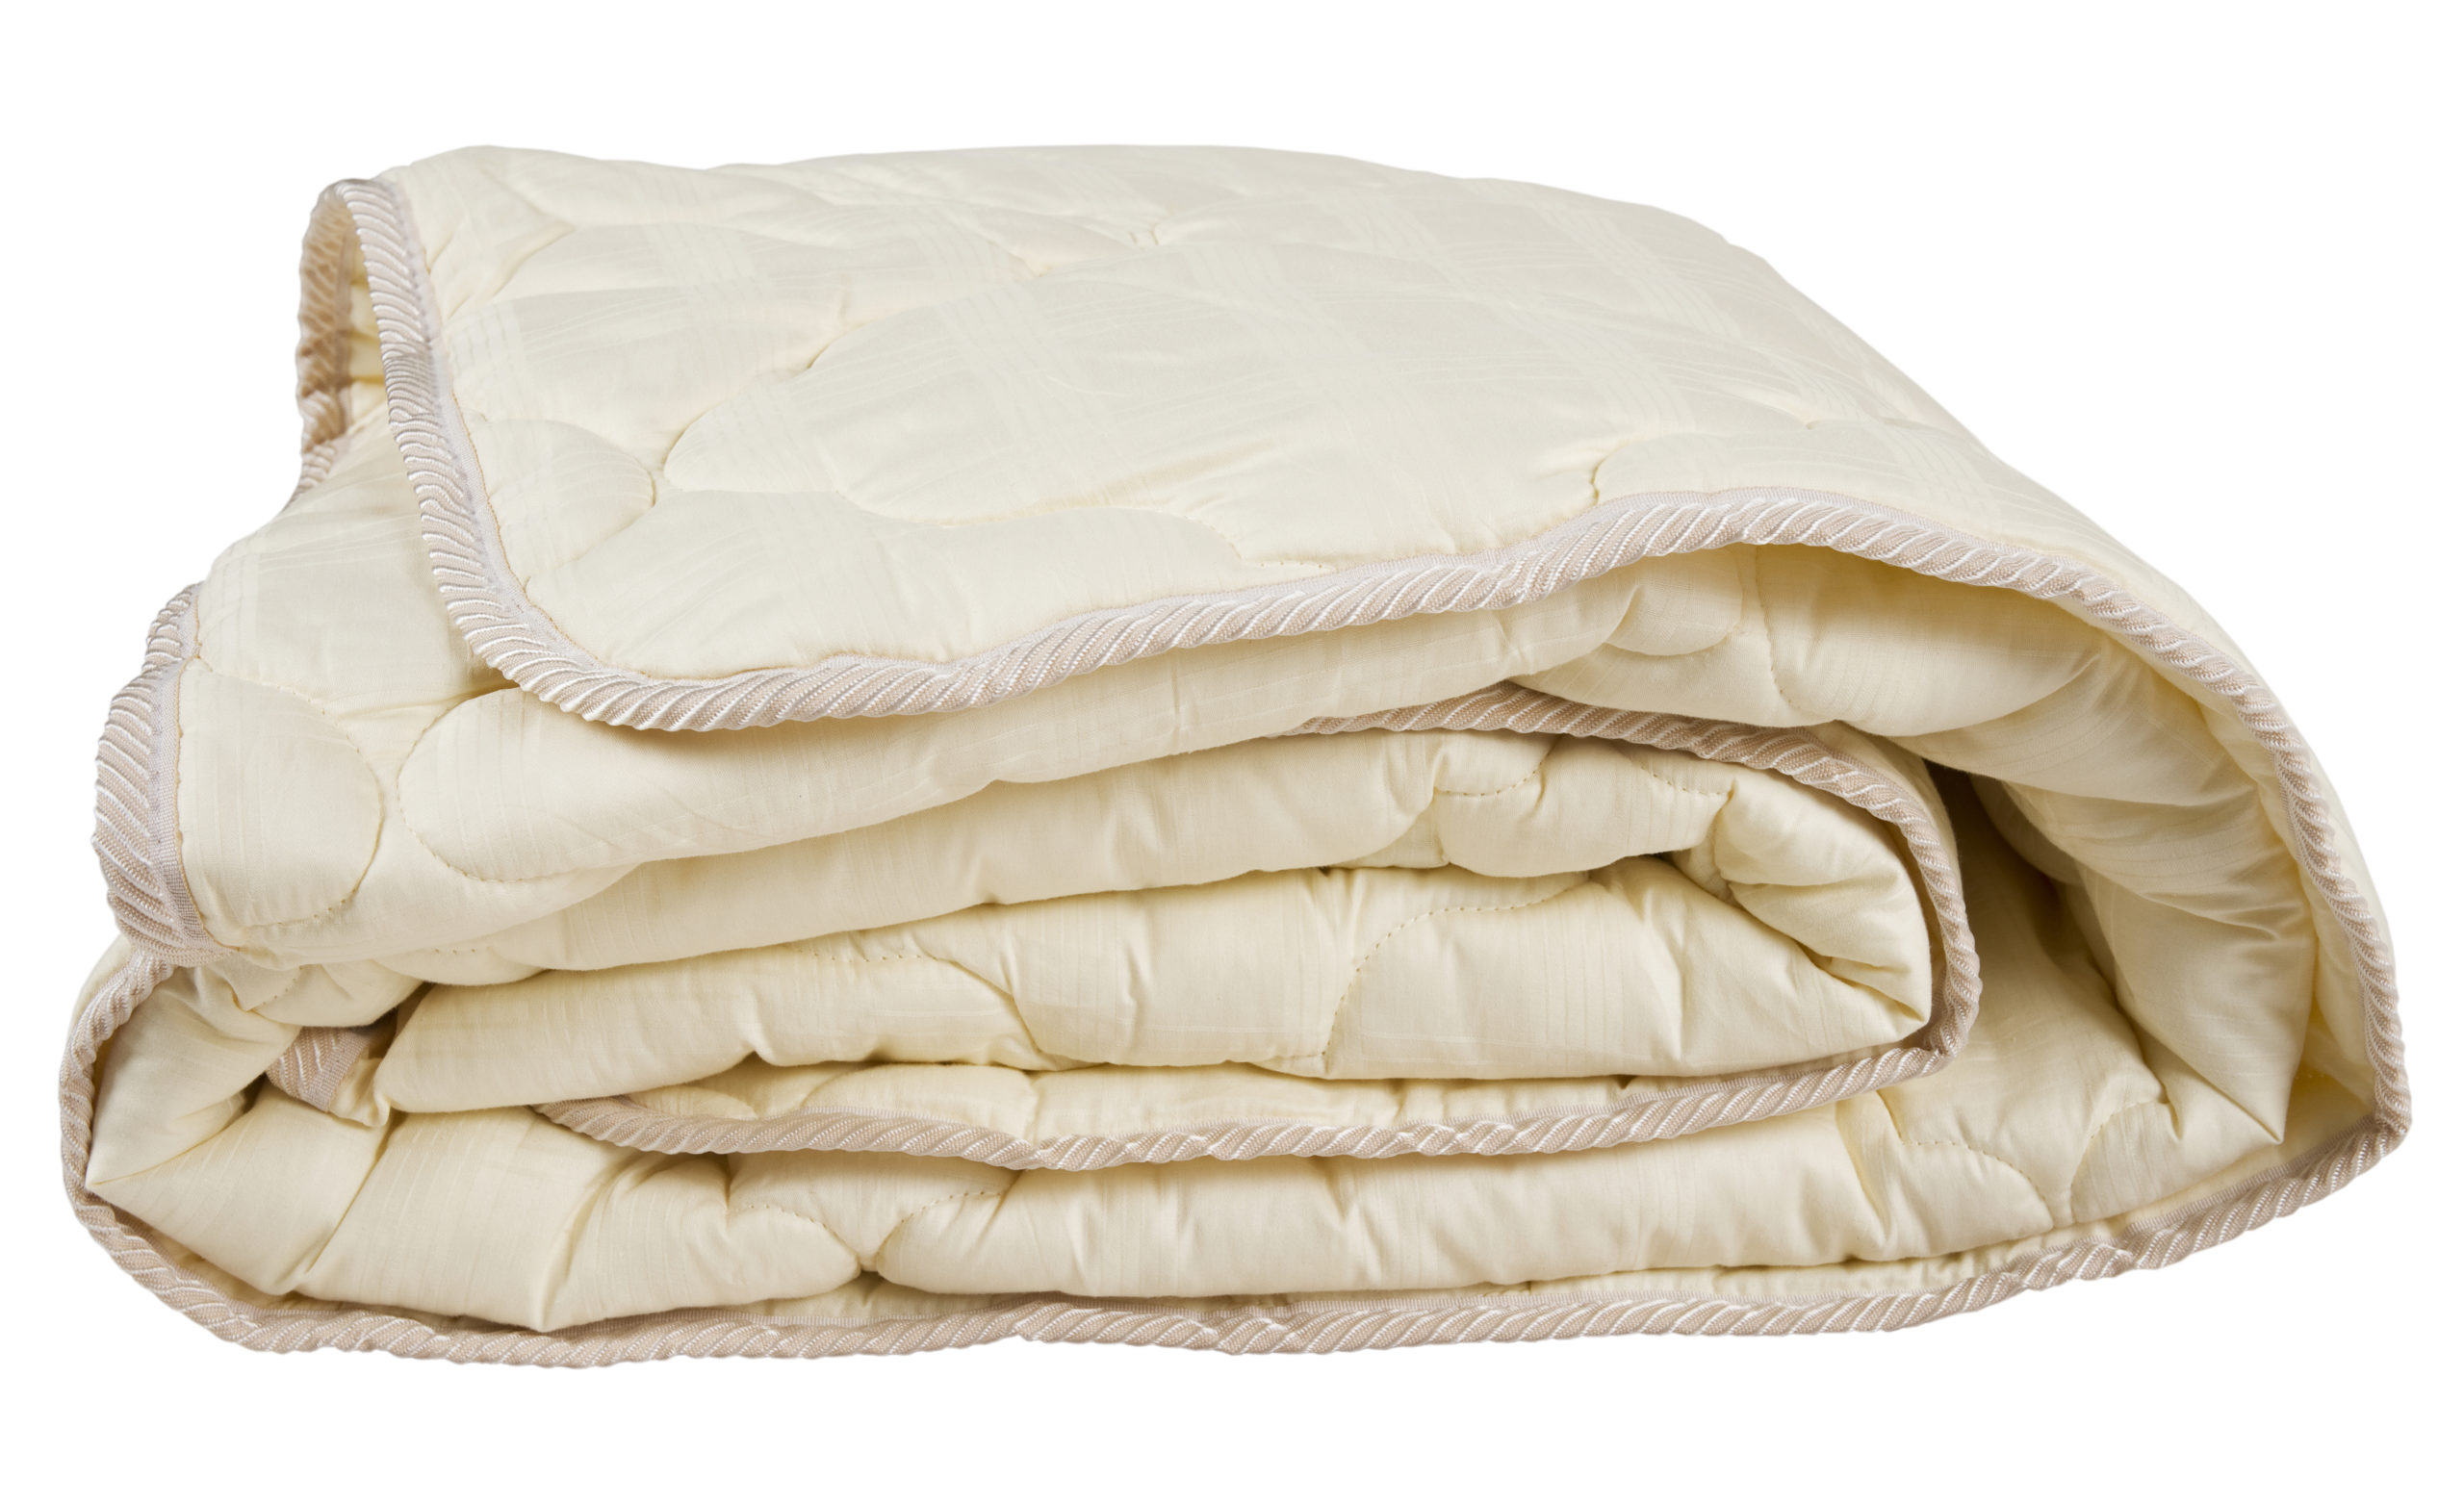
We’re talking about weighted blankets. A weighted blanket is exactly what it sounds like: a blanket that is heavier than a normal blanket. These blankets are typically filled with some kind of material to add weight – common options include plastic or glass beads, ball bearings, or various grains. They come in a wide variety of different weights and can be used for daytime relaxation as well as sleeping.
There are plenty of weighted blankets on the market, but they can get pretty pricey. If you’re looking to save money, or if you have a specific preference on the size, shape, or color of your weighted blanket, you might prefer to make your own. Here’s how to make a weighted blanket.
Benefits of Weighted Blankets
Weighted blankets typically come in two styles. The knitted style is knitted or woven using a very dense yarn while the duvet style adds weight using some kind of filling like beads or ball bearings. These blankets deliver a variety of therapeutic benefits, all thanks to a technique called deep pressure stimulation. The idea is that firm, controlled pressure helps calm the central nervous system to create a relaxing effect for both the body and the brain.
Here are some of the benefits of sleeping with a weighted blanket:
- Comfort – In the same way swaddling a newborn provides a sense of comfort, the weight and pressure of a weighted blanket promotes a sense of security and comfort.
- Stress Relief – By soothing the nervous system and inducing feelings of calm, weighted blankets can help relieve stress and anxiety.
- Improved Sleep – Deep pressure stimulation delivered by a weighted blanket can boost serotonin production while reducing production of the stress hormone cortisol. They also help increase melatonin production, all of which combines to help you sleep better.
- Calmness – Not only will you feel relaxed and mentally calm when using a weighted blanket, but these blankets can actually calm the central nervous system. This helps with things like anxiety, rapid heart rate, and hyperactivity.
In order to optimize the benefits of using a weighted blanket, it’s important to choose the right weight. Weighted blankets come in a variety of weights as low as 5 pounds to over 30 pounds. Most people find a weighted blanket equivalent to 10% of their body weight the most comfortable. Consider the size of your blanket as well – they come in all standard sizes from twin to king.
Step-by-Step Guide: How to Make a Weighted Blanket
- Skill Level: Moderate
- Estimated Time: 3 hours
- Estimated Cost: $50
Learning how to make a weighted blanket is a great DIY option if you have basic sewing skills. You’ll need to decide what measurements you want for your blanket as well as the weight. Think about the type of material you prefer for the outside of the blanket as well – some materials will help you stay cool in the summer while others are designed for winter warmth.
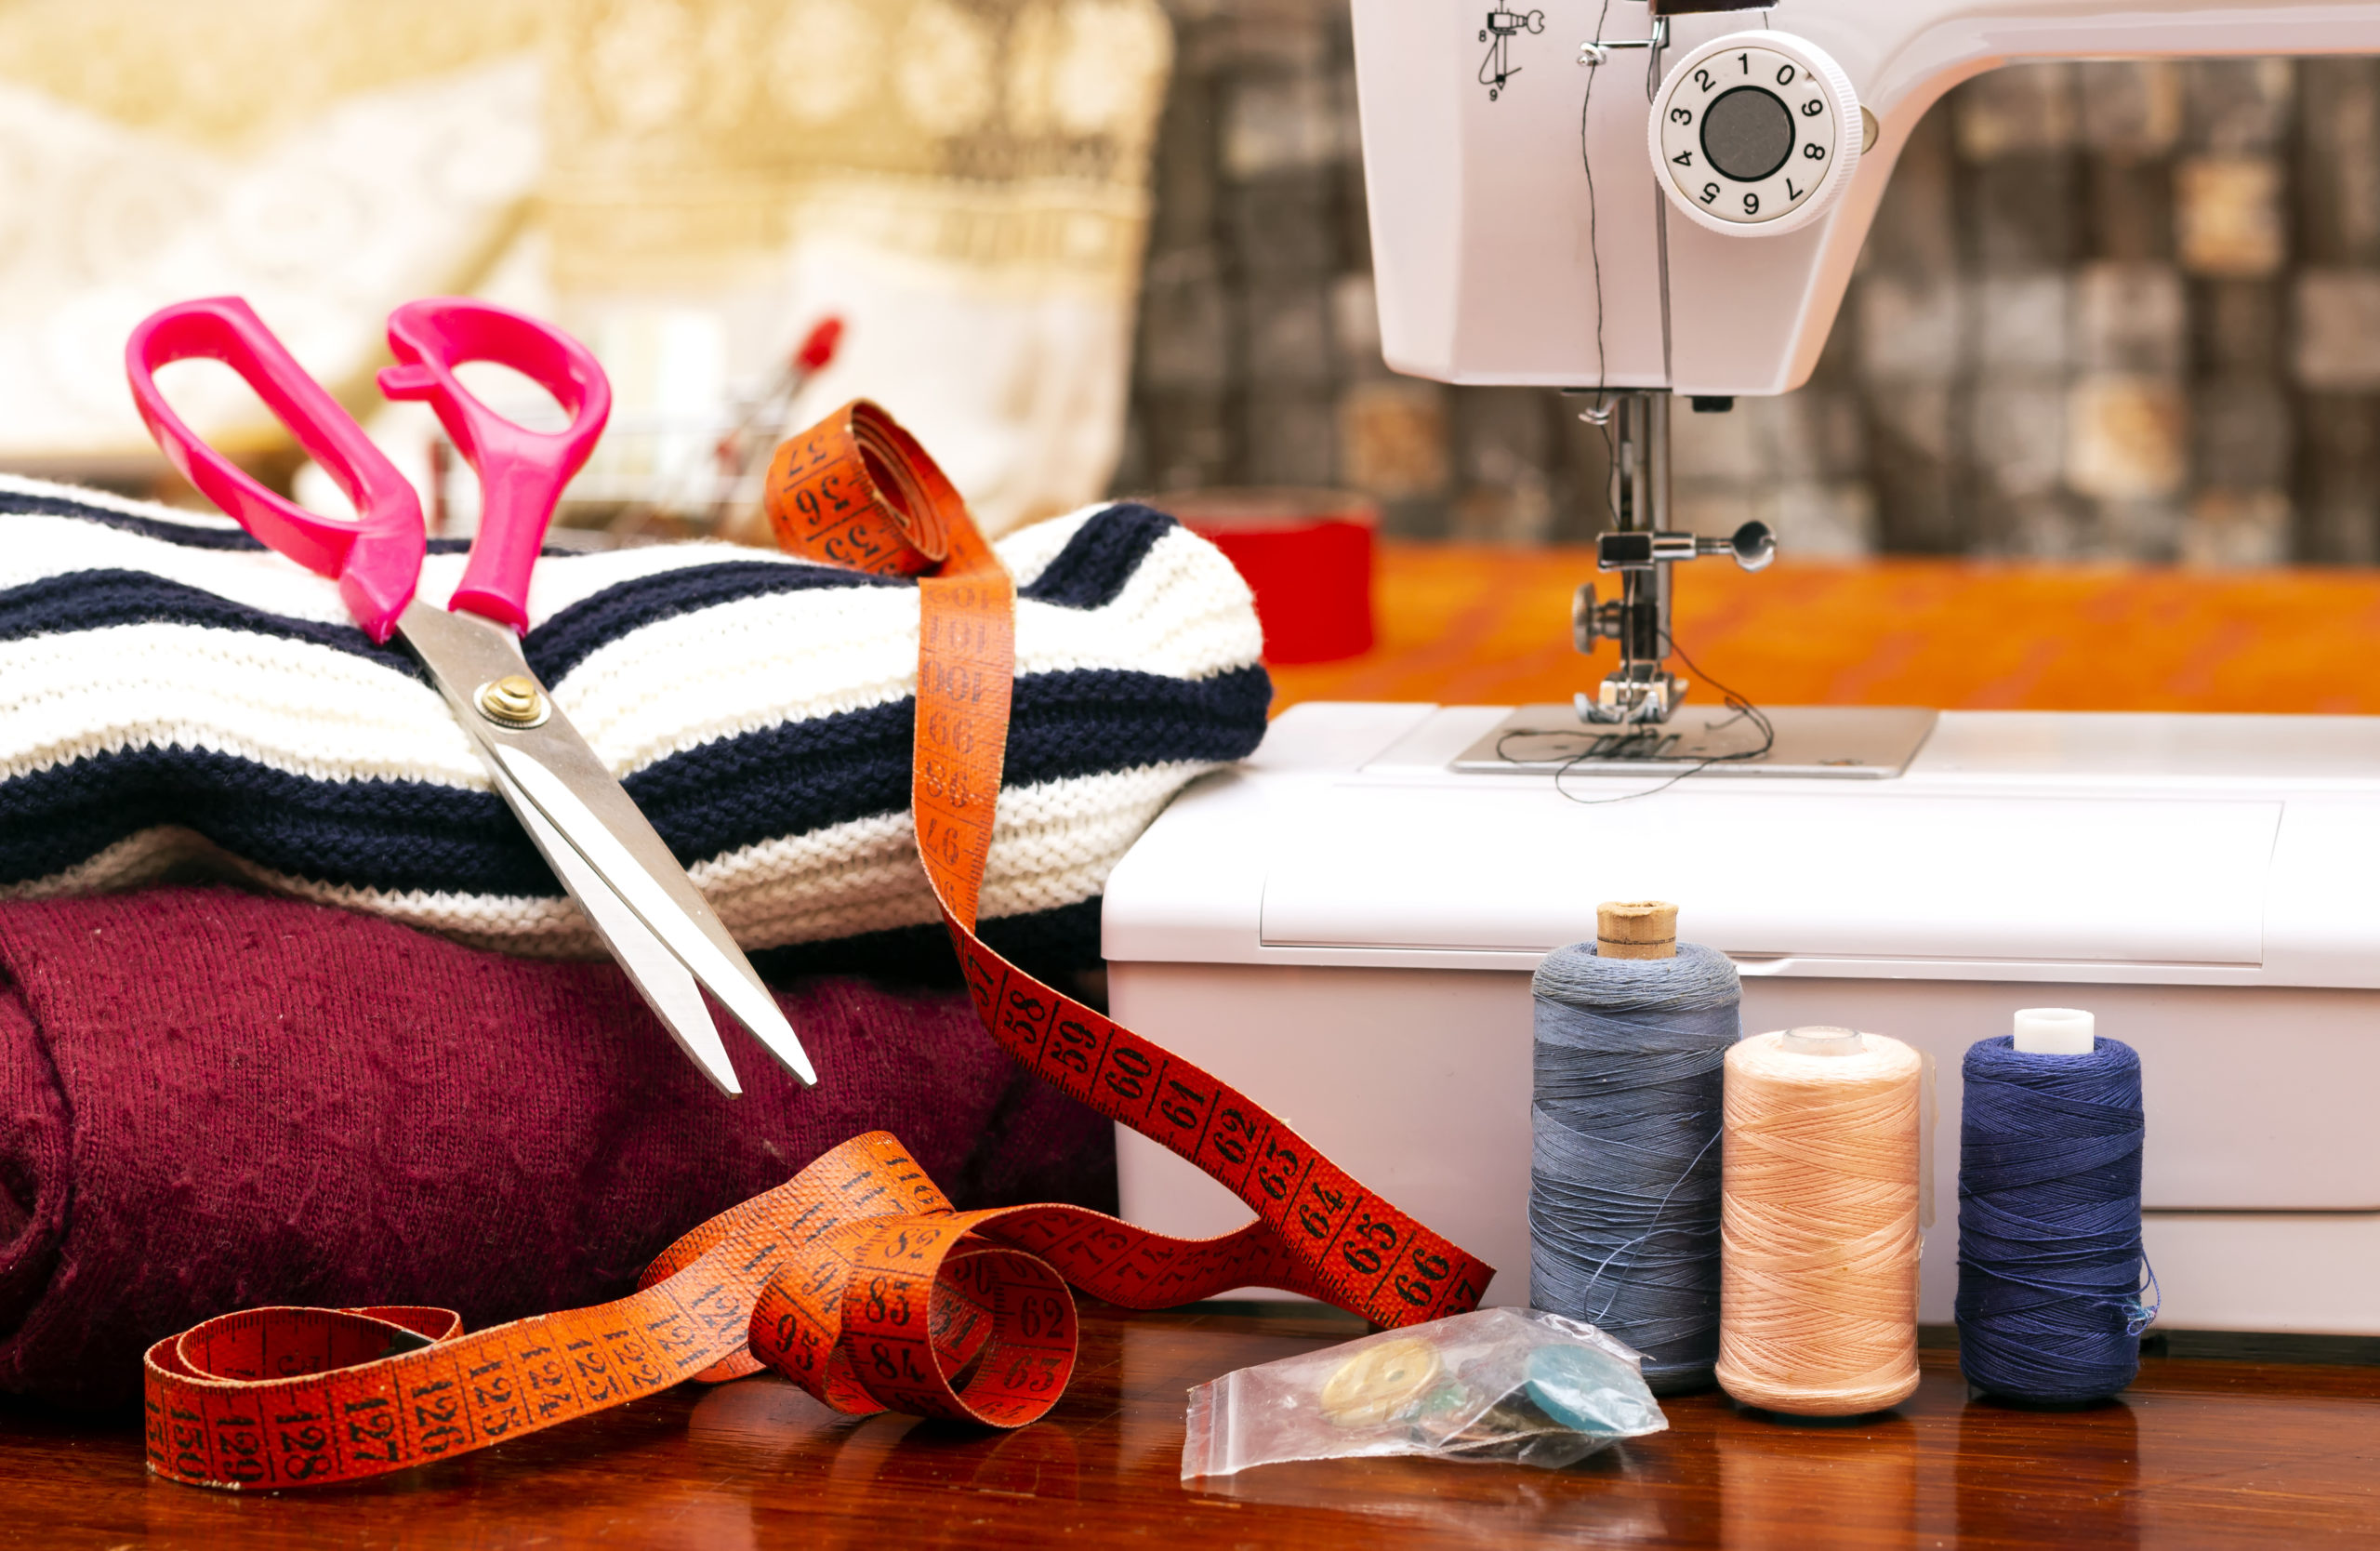
Materials Needed:
- Durable fabric
- Plastic or glass filler beads
- High-quality thread
- Sewing machine
- Pins
- Scissors
- Tailor’s chalk
- Ruler
- Kitchen scale
Instructions:
1. Decide on Weight and Sizing
A weighted blanket can be whatever size you like. If you plan to sleep with the blanket, consider a standard size – the same size as the blanket or comforter you use now. If you plan to use it for daytime lounging, you may want to do something smaller.
Your weight blanket will be comprised of squares filled with the weighted material. These squares should be no smaller than 3 inches wide and no larger than 5 inches. This means the overall dimensions of your blanket should be a multiple of the square size with an additional 4 inches to accommodate a 1-inch hem all the way around.
To determine the ideal weight for your weighted blanket, measure your body weight and choose something between 5% and 15% of that value. Most people find the equivalent of 10% of their body weight to be most comfortable. And if that all sounds like too much math, we’ve done the work to create an easy guide here.
2. Sew the Front and Back Together
Cut two pieces of your chosen fabric to the dimensions you’ve determined. Place them on top of each other, right sides together. Draw a mark 2 inches in from each edge of the fabric then draw a grid of squares in your chosen size. Using a 3/8-inch seam allowance, sew the two long sides together and one short side.
Turn the blanket right side out then open the seams and topstitch them ¼ inch from the edge. Next, sew along the lines marked 2 inches in from the edge, backstitching and the beginning and end.
3. Create and Fill Vertical Channels
Sew along all the vertical lines you’ve marked, started at the closed bottom edge. Edge the stitching in each line just over the 2-inch marking you sewed previously, backstitching at the beginning and end.
Weigh out your filler beads and divide the total amount by the total number of squares on your blanket. Determine how many squares are in each vertical channel and multiply that number by the weight of each square. Measure out the fill and pour it into the first channel. Shake the beads to level it out.
4. Sew Across the Channel
Use pins to close the edges of each square, keeping the filler in place while you sew. Sew across the horizontal lines marked in the vertical channel, overlapping your topstitching and backstitching at the beginning and end of each square. Repeat the process for the remaining vertical channels.
5. Topstitch the Open Side
Once your weighted blanket is filled and stitched together, the final step is to close the open side. After you sew the final row of squares closed, the stitching should line up pretty closely with the inner line of topstitching. Fold the edges of the open side of fabric in by about ½ inch and topstitch ¼ inch from the edge. You can press the edges of the blanket with a warm iron, if desired.
Frequently Asked Questions
Can I make a weighted blanket?
Yes! With the right materials and a solid guide, you can make your own weighted blanket. A DIY weighted blanket is a great option for older children who may outgrow the blanket quickly. They also make great gifts.
How heavy should I make my weighted blanket?
Recommendations for weighted blankets range from between 5% and 12% of your body weight. For most people, something around 10% is the most comfortable. For example, if you weigh 150 pounds, you should look for a weighted blanket between 7.5 and 18 pounds, though something around 15 pounds may be the most comfortable.
Is it okay to sleep with a weighted blanket every night?
Weighted blankets are safe for adults and older children for daytime use and sleeping. As long as you choose the correct weight, they are safe to use every night.