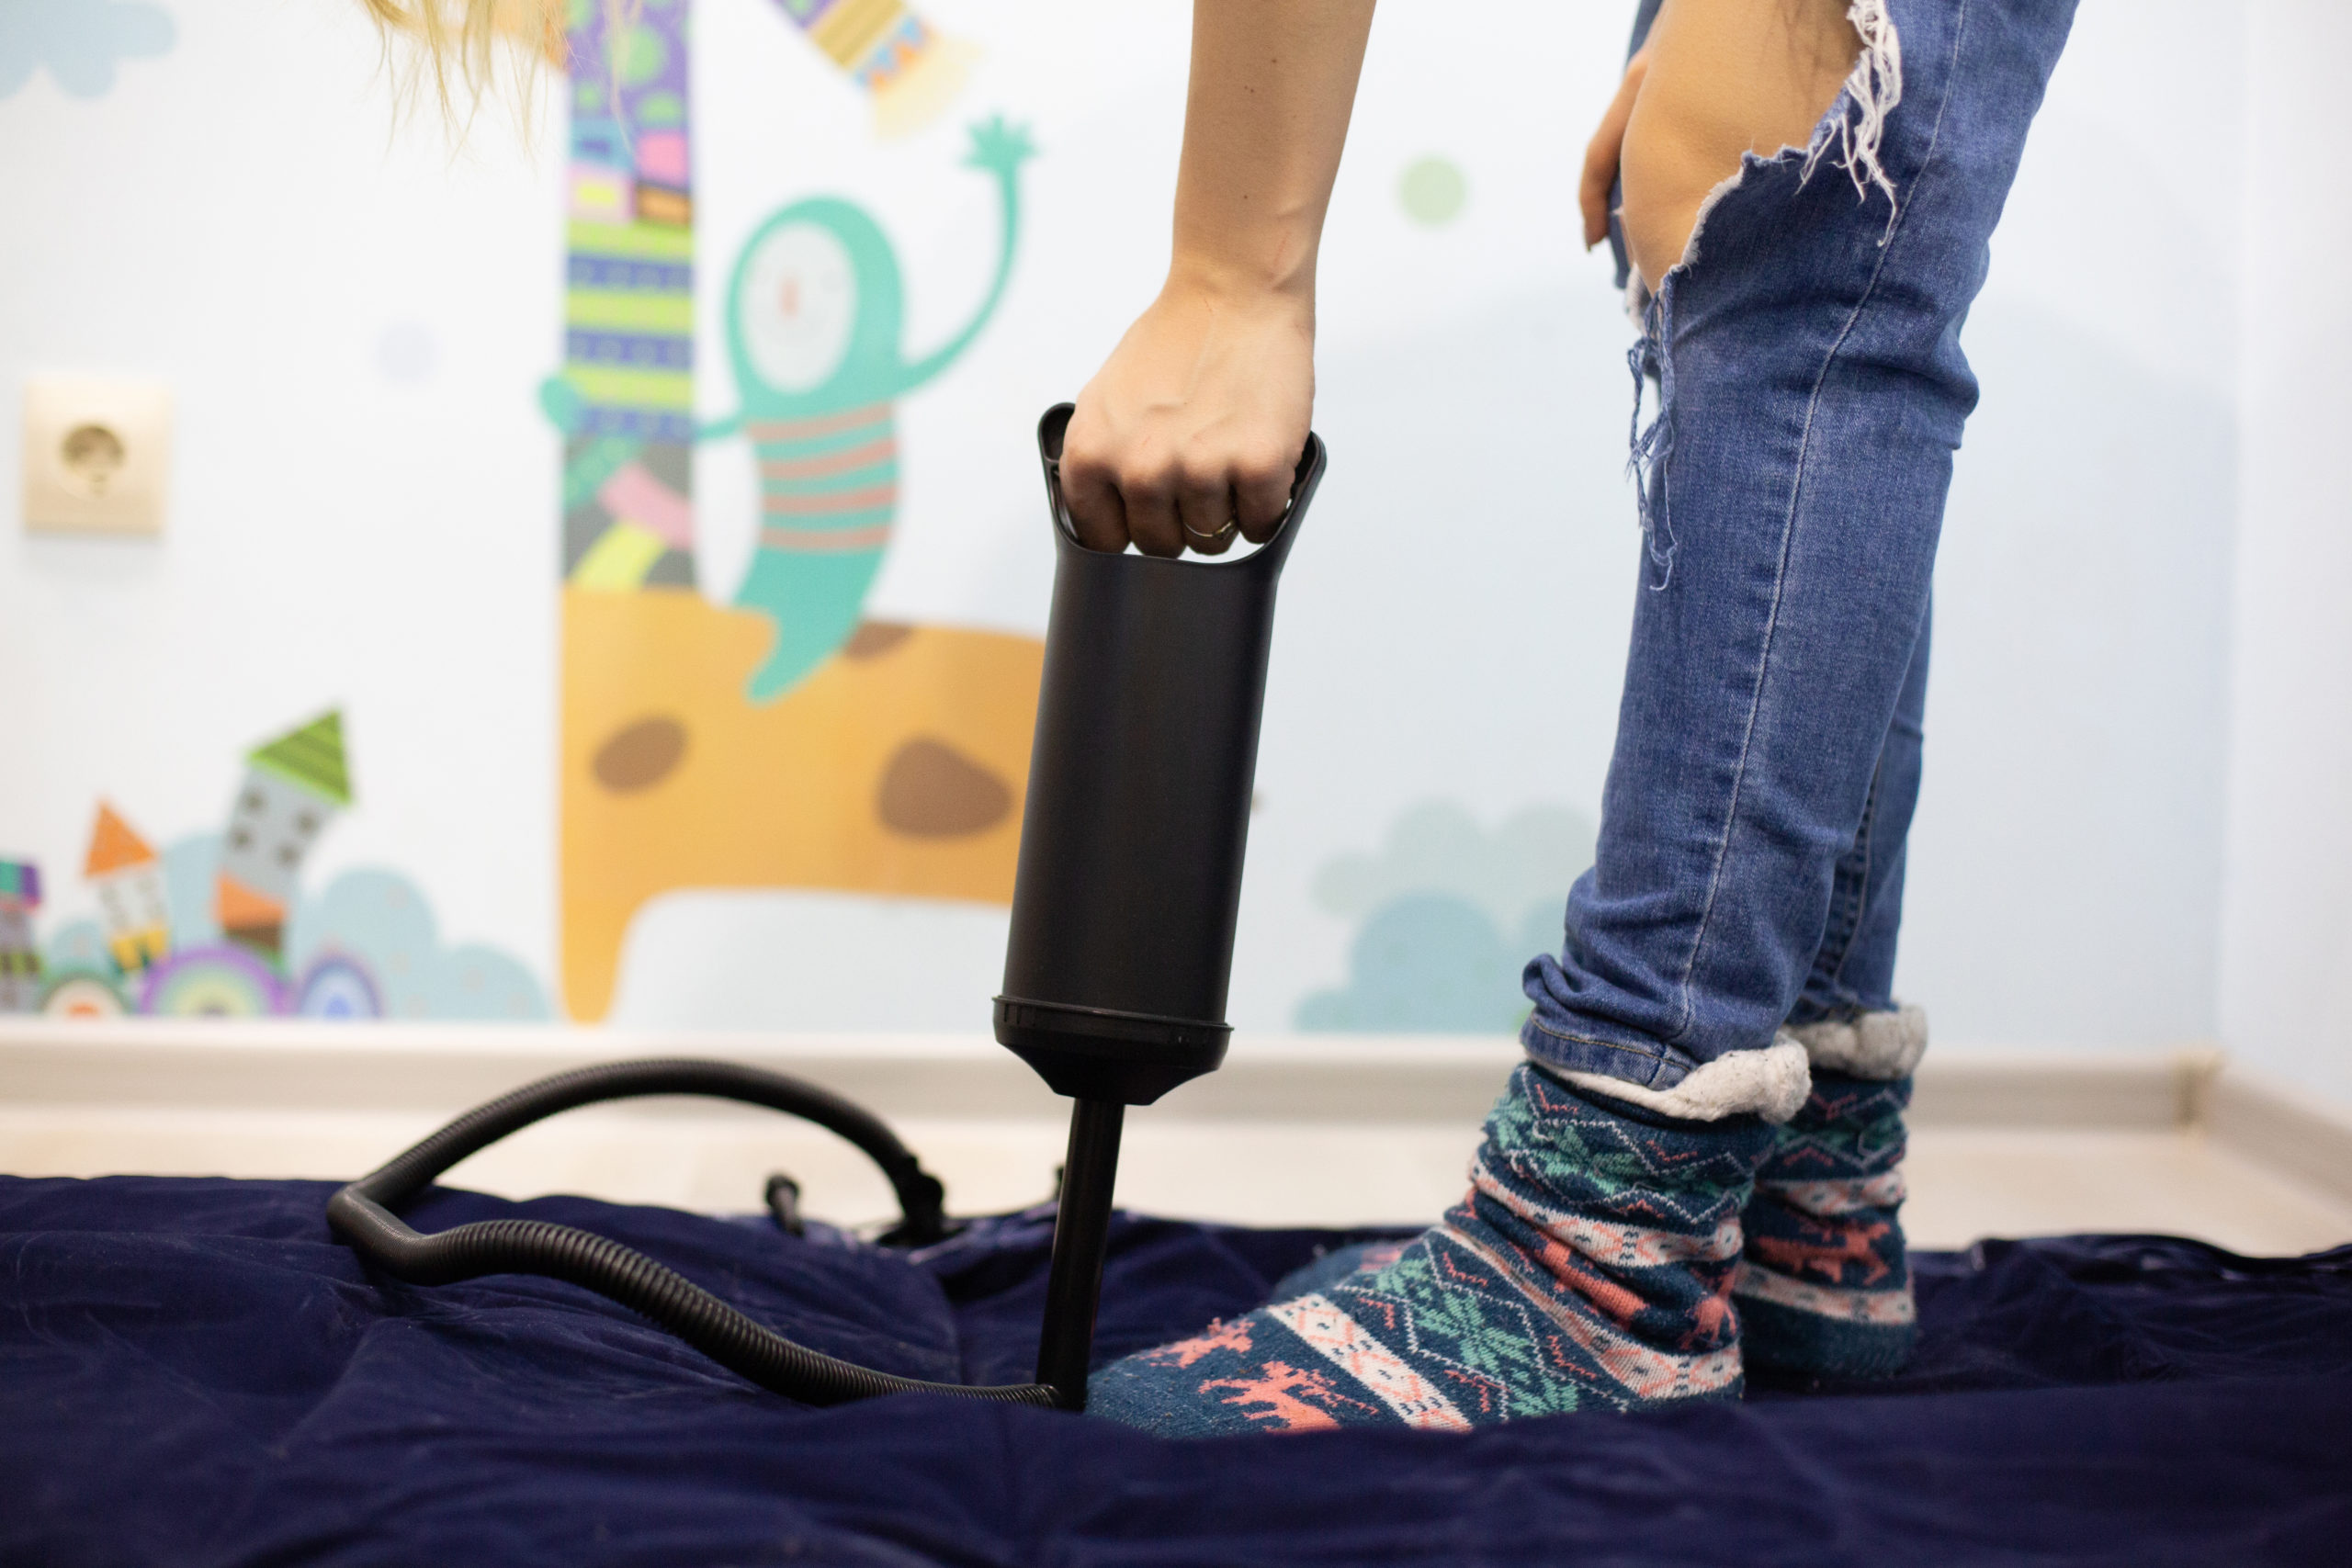
Picture the scene: your loved ones are coming into town, and you need to make a place nice for them to sleep. You get out your old, reliable air mattress, but something feels off. As you inflate the trusty bed you notice, it’s not going up that fast. Once it’s finally done, you turn around, and before you can even put sheets on it you can see it’s deflating. You find yourself looking into your kitchen junk drawer wondering if you know how to patch an air mattress with duct tape.
Disaster! Or is it? The usual culprit in this scenario is a small hole or tear in the vinyl. This doesn’t necessarily mean that it’s time for a whole new mattress. There are many ways to solve a hole in an air mattress, but by far the easiest and most accessible is also our favorite: duct tape. It’s something almost every household already owns and it’s strong adhesion to almost any surface makes it ideal for patching.
Duct tape will work on almost any kind of air mattress, even those with a flocked finish. If you’re worried about how a duct tape repair will look on your air mattress, there are now many different colors and patterns of duct tape to choose from. You can easily find a strong one in a color that blends in with the material of the mattress, leaving onlookers none the wiser as to how it was repaired.
How to find an air mattress leak
Ready to repair? First things first, you’ll need to find the leak! There are a couple of ways to find the leak on an air mattress once you have fully inflated it:
- Listen carefully for the sound of air escaping
- Run your hand over the surface to feel for airflow
- Apply soapy water (either with a spray bottle or sponge) and look for bubbles created by escaping air.
- Lay tissue or light paper on the air mattress and press weight on the mattress to force air out. The tissue or paper will be propelled upwards if there is a leak.
Using one or a combination of the above methods will help you locate the source of the air leak quickly and with minimal fuss. Once you have found the leak, we recommend marking a circle around it with tailors chalk, white pencil, or some other easily identifiable way.
How to patch an air mattress with duct tape
Now that you’ve found and marked the leak, you’re ready to begin patching.
Step 1. Clean & prep
Get some clean water and a couple of cloths. With a dry cloth, gently wipe off any dust or debris around the leak. With a damp cloth, gently clean the area around the leak to remove any remaining dirt, debris, or dust. Avoid rubbing too hard as this can make the leak worse. Pat dry and leave to completely dry for a few hours to make sure the duct tape has the best chance of sticking.
Tip: If you used the soapy water method to find the leak, this step will be especially essential. The soap mixture could affect how well the duct tape adheres to the air mattress.
Step 2. Apply the duct tape
Once the mattress is fully dry, make sure the air mattress is fully inflated before you start taping the leak. Cut a piece of tape large enough to cover the leak. If it is a particularly large hole or tear, you may need to use multiple pieces to cover it. Make sure the tape goes on smoothly with minimal creases and air bubbles. Add additional pieces of duct tape along each border of the first piece(s) to help keep it in place and better seal the repair.
Step 3. Test the mattress
After the repair is completed, fully inflate the mattress and then lay on it for an hour or two. If the mattress stays fully inflated, then the repair was successful, congratulations! If it deflates significantly, there may be further leaks or more tape required on the repair.
Tape Quality
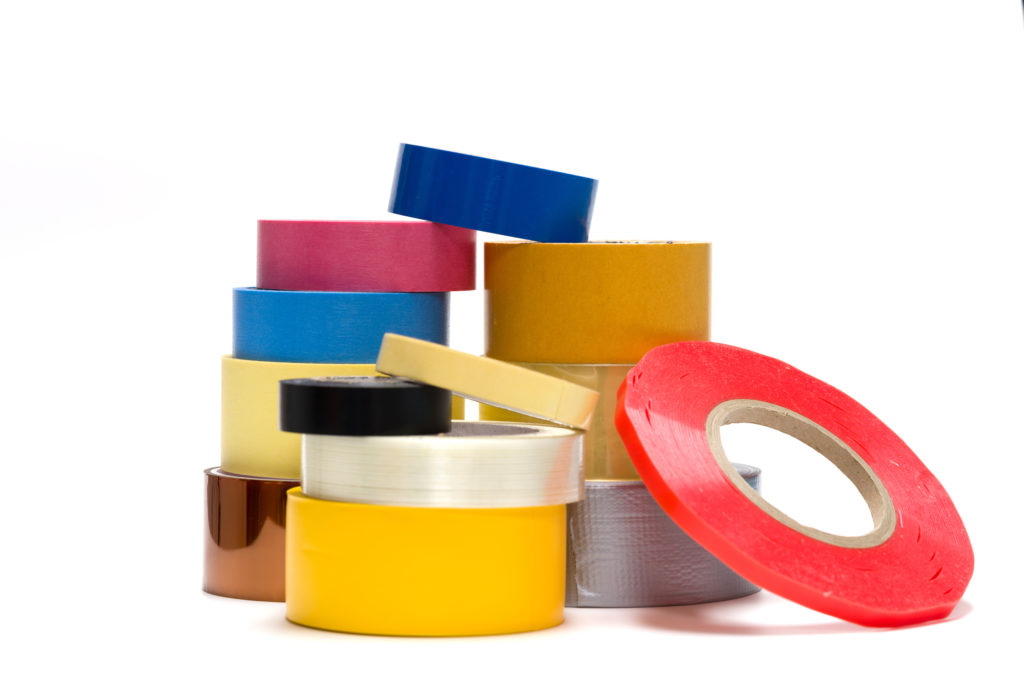
Not all duct tapes are created equal, but there are some that are the best duct tape for air mattresses. If it’s not an emergency fix with whatever you have at hand, we strongly recommend choosing one with the strongest level of adhesive. Extra strong ones that don’t tear easily would be ideal, as this will make the repair tougher. There are many well-known brands that are all trustworthy enough to reliably repair your air mattress, available at any hardware store.
Pros & Cons
As with all things, there are pros and cons to using duct tape to repair a leak in an air mattress.
Pros
- Easy to do and doesn’t require specialist equipment.
- Perfect for when you need to fix an air mattress fast, e.g. it’s Christmas Eve and your family is almost there.
- Duct tape will make a very strong repair.
Cons
- Duct tape is less suited for fixing large tears or holes. These should be repaired with an air mattress patching kit. These come with either self adhesive vinyl patches or with specifically formulated glues.
- It is only a temporary fix, as the adhesive on the tape will eventually deteriorate and peel off.
While a rapidly deflating air mattress might feel like a disaster when it happens, using duct tape can easily and quickly fix the problem! As we mentioned, it is not a permanent solution, or even one that works for every kind of leak. Air leaking out of seams or around the valves are harder (but not impossible) to repair.
If you get to the point where your air mattress has more patches than original material, it might be time to invest in a new one. Some of the more modern mattresses are made with puncture-proof materials, and others have fast-inflation features built into their pumps. We put together this guide to some of the best air mattresses on the market for when you’re ready to upgrade.